Toaster Cover Tutorial
This post contains affiliate links.
Once upon a time, I shared this tutorial on Riley Blake's Cutting Corners blog.
PDF Version
Once upon a time, I shared this tutorial on Riley Blake's Cutting Corners blog.
PDF Version
Materials:
½ yd. for face of toaster cover
½ yd. for lining the inside of toaster cover
½ yd. heavy weight fabric for interlining (you won’t be able to see this fabric)
Fat quarter for piping and about 56” of 6/32” wide cotton piping cord (or 56” of pre-made 6/32” wide piping)
Note: My toaster is 7” high x 10” long x 6” wide. This toaster cover fits generously over it.
Note: Use ¼” seams for basting and ½” seams for everything else.
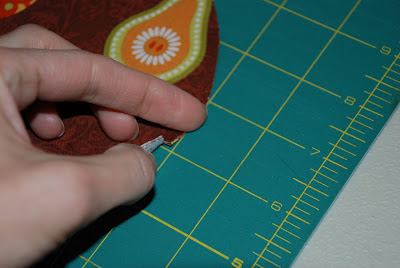
1. Cut two A rectangles 12” by 8 ¼ " out of each of the face, lining, and interlining fabrics. Using a 6-inch diameter bowl, round the top two corners of each of the six A pieces. Make two notches 5” up on either side from the bottom and one notch in the middle on the top, as shown by the arrows in the diagram.
2. Start with one face A and one interlining A. Baste wrong sides together using a ¼ inch seam along the three notched sides, not the bottom. Repeat with the other two face and interlining A pieces. You should have two basted A sets: the front and the back of the toaster cover.
3. Now, let’s make the piping. {If you’re using premade covered piping, skip this step.} You’ll need about 56 inches of 6/32” wide cording. Cut 1 ½” wide bias strips from piping fabric and join together to make a bias strip that is 56 inches long. Place cording in center of bias strip. Fold fabric over to encase. Sew using a piping or zipper foot.
4. Sew piping onto the face fabric of both A sets using a ½” seam and clipping the corners as you sew them.
5. Cut one B rectangle 24 ¼” by 7 ½” out of each of the face, lining, and interlining fabrics. This is the top and sides of the toaster cover. Make six notches in these pieces, two in the middle of each side and four 5” in from both ends on both sides. These notches will need to match the notches on the A pieces.
6. Start with face B and interlining B. Baste wrong sides together using a ¼ seam along the two notched sides.
7. Take one A set and your B set and pin
face fabrics together along one notched side of B, matching notches.
Clip corners to make easier to sew. Repeat for second A set along other
notched side of B set.
8. Now it’s time to work with the two A pieces and one B piece cut from your lining fabric. Join right sides of one A to notched side of B in the same manner as step 7, matching notches and clipping the corners to fit around the curve. Repeat for second A piece along other notched side of B, BUT leave a 3” gap in the seam, for turning inside out.
9. With right sides together, pin lining unit to face unit along bottom edge, taking care to match seams. Sew.
10. Pull sewn toaster cover through the 3” gap, so face fabric is on the outside and lining fabric is on the inside. Hand sew the gap closed.
11. For a finishing touch, topstitch along bottom of toaster cover to secure lining in place.
Suddenly, your toaster is the cutest part of your kitchen! Enjoy!


How do you turn the fabric without bulk where the piping is when you sew the bottom together?
ReplyDelete